7月末にリリースされた「iTerm2 v3.3」に大きく2種類の新機能がある.今回は「Python Scripting API」を中心に紹介したいと思う.
- Python Scripting API
- Scriptable Status Bar
Python Scripting API
「Python Scripting API」を簡単に説明すると「Python で iTerm2 を制御できる API が公開された」と言える.正確には iterm2 という Python ライブラリが公開されているため,iTerm2 のウィンドウを制御したり,プロファイルを制御したり,新機能のステータスバーを制御できるようになる.
ドキュメントに API リファレンスもある.今までは AppleScript API を使う必要があったため,Python を使えるようになったのはコミュニティにとっても良いことだと思う.便利なスクリプトがどんどん公開されそう!
Python API Tutorial
「Python Scripting API」を試すため,今回はドキュメントにある「Python API Tutorial」を進めていく.
- 1 : Python API Introduction
- 2 : Example Script
- 3 : Running a Script
- 4 : Daemons
- 5 : RPCs
- 6 : Hooks
- 7 : Troubleshooting
1 : Python API Introduction
「Python Scripting API」で使えるスクリプトは大きく「2種類」ある.
- Simple
- 例えば「ウィンドウを作成する」など,必要なときに実行するスクリプト
- Long-running daemons
- 例えば「定期的にアクションを実行し続ける」など,iTerm2 の中に常駐するデーモン形式のスクリプト
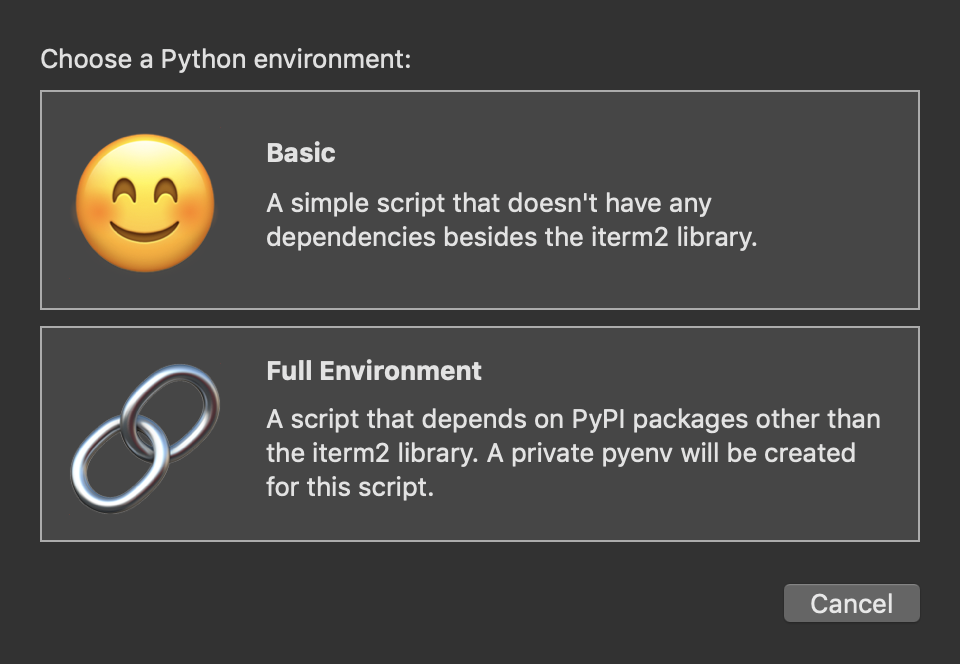
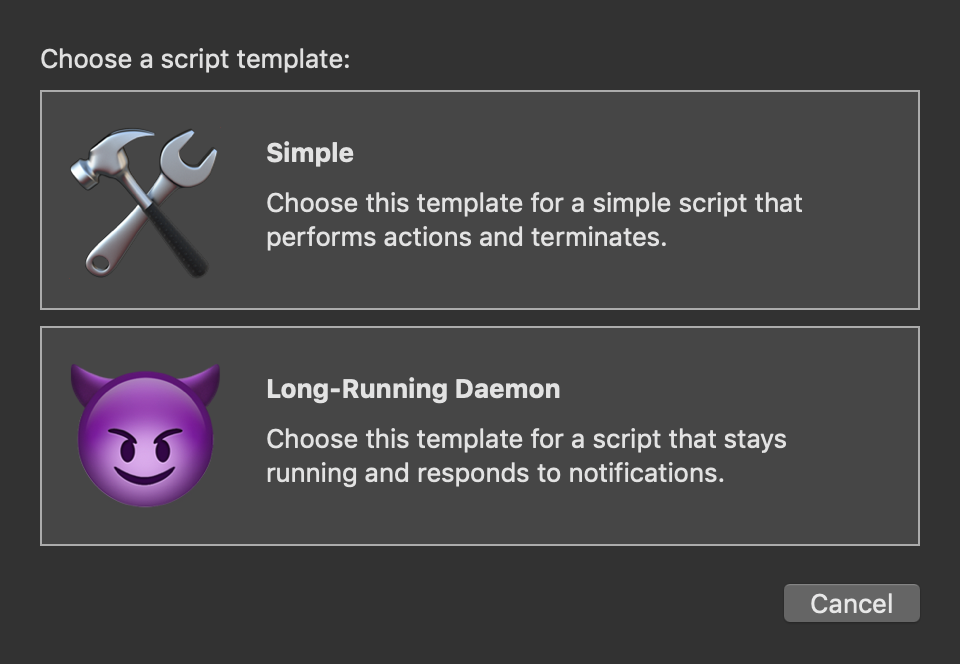
最初は「Simple」スクリプトを作成するため,iTerm2 のメニューから「Scripts → Manage → New Python Script」と選択すると,ウィザードが表示される.「Basic → Simple」を選ぶ.ファイル名は tutorial にしておく.
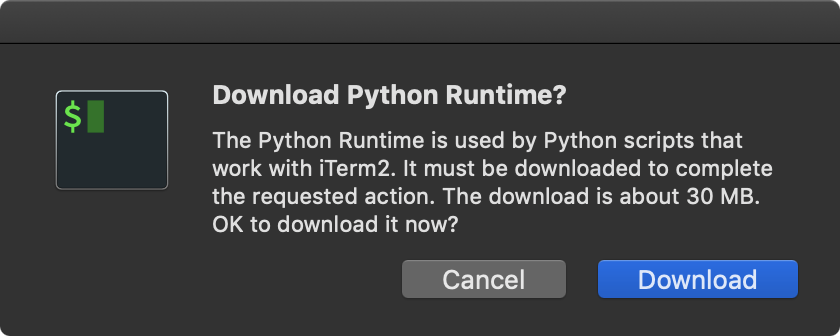
初回実行だと「Download Python Runtime?」とダイアログが出るため,ダウンロードをしておく.
2 : Example Script
スクリプトを作成したため,自動生成された tutorial.py をエディタで表示できるようになる.スクリプト自体は ~/Library/Application\ Support/iTerm2/Scripts ディレクトリにあり,自動生成されたスクリプトを解説する内容になっている.ポイントを整理しておく.
- Python API を使うために
iterm2をimportする - コードは
main関数の中に書く - Python API は
asyncioを使っているためasync/awaitなど非同期処理を前提とするrun_until_complete()/run_forever()なども重要になる
await window.async_create_tab()で新規タブを作成している
#!/usr/bin/env python3.7

import iterm2
# This script was created with the "basic" environment which does not support adding dependencies
# with pip.

async def main(connection):
    # Your code goes here. Here's a bit of example code that adds a tab to the current window:
    app = await iterm2.async_get_app(connection)
    window = app.current_terminal_window
    if window is not None:
        await window.async_create_tab()
    else:
        # You can view this message in the script console.
        print("No current window")

iterm2.run_until_complete(main)
3 : Running a Script
実装したスクリプトを実行する方法として,5種類紹介されている.
- From the Scripts menu.(スクリプトメニューから実行する)
- At the command line.(コマンドラインから実行する)
- Auto-run scripts launched when iTerm2 starts.(iTerm2 の起動時に自動実行する)
- With an interactive interpreter called a REPL.(REPL から実行する)
- From the Open Quickly window.(Xcode の Open Quickly から実行する)
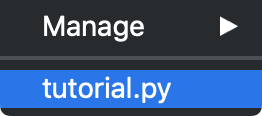
「スクリプトメニュー」から実行する場合,iTerm2 のメニューから「Scripts → tutorial.py」と簡単に実行できる.
「REPL」でインタラクティブにコードを実行する場合,iTerm2 のメニューから「Scripts → Manage → Open Python REPL」を選択する.
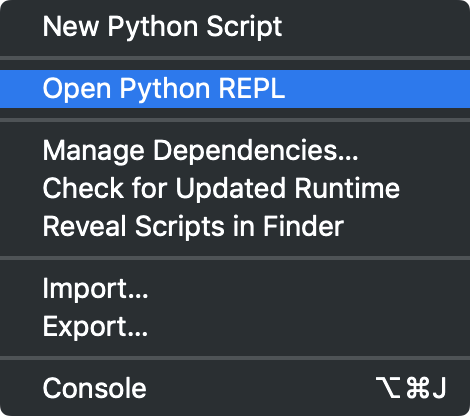
REPL を起動したら app オブジェクトを取得するために最初は以下のスニペットを入力する.ドキュメントにもコピーすると書いてあった.
import iterm2
connection=await iterm2.Connection.async_create()
app=await iterm2.async_get_app(connection)
4 : Daemons
iTerm2 の起動時に「デーモン」として自動実行する場合,~/Library/Application\ Support/iTerm2/Scripts/AutoLaunch ディレクトリにスクリプトを保存しておく必要がある.もう1度ウィザードを表示し,今度は「Basic → Long-Running Daemon」を選ぶ.ファイル名は daemon にしておく.自動生成されるコードではなく,ドキュメントに載っているコードに置き換える.
#!/usr/bin/env python3
import iterm2

async def main(connection):
    async with iterm2.CustomControlSequenceMonitor(
            connection, "shared-secret", r'^create-window$') as mon:
        while True:
            match = await mon.async_get()
            await iterm2.Window.async_create(connection)

iterm2.run_forever(main)
作成した AutoLaunch/daemon.py のポイントは最後にある run_forever() で,デーモンとして常駐させている.
iterm2.run_forever(main)
今回のコードは iTerm2 のエスケープシーケンスを受け付けるため,以下のコマンドを入力すると,コマンドラインから iTerm2 のウィンドウを作成できる.
$ printf "\033]1337;Custom=id=%s:%s\a" "shared-secret" "create-window"
5 : RPCs
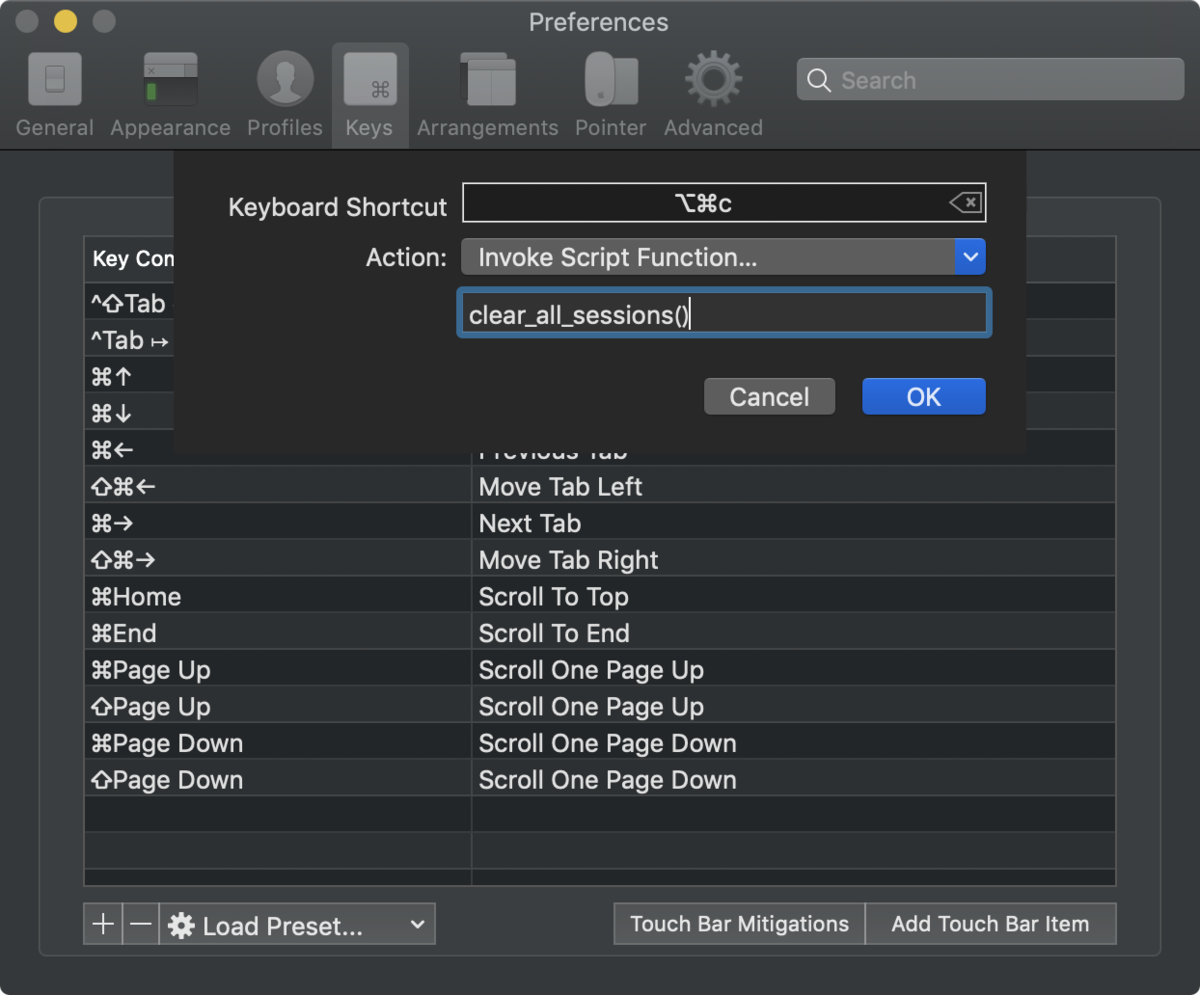
デーモンを RPC として定義しておくと,例えば iTerm2 のショートカットキーからスクリプトを実行することもできる.ドキュメントに載っている以下のスクリプトを clear.py として登録しておく.以下のスクリプトを実行すると「全てのセッションのヒストリをクリア」できる.
#!/usr/bin/env python3

import iterm2

async def main(connection):
    app = await iterm2.async_get_app(connection)

    @iterm2.RPC
    async def clear_all_sessions():
        code = b'\x1b' + b']1337;ClearScrollback' + b'\x07'
        for window in app.terminal_windows:
            for tab in window.tabs:
                for session in tab.sessions:
                    await session.async_inject(code)
    await clear_all_sessions.async_register(connection)

iterm2.run_forever(main)
そして clear_all_sessions() をショートカットキーに登録する.単純に clear を実行するのと大きな差はないけど,実装したスクリプトをショートカットキーに設定できるのは便利だと思う.ショートカットキー以外に「トリガー」にも対応しているため,Linux の alias のように設定できる.ドキュメントにある例は boss is coming という文字列に clear_all_sessions() をバインドしてて笑った!
6 : Hooks
Python API の Hooks は iTerm2 の動作を変更できる機能で,現在は以下の「2種類」がサポートされている.
- Session title provider(セッションタイトルの文字列を変更する Hooks)
- Status bar provider(ステータスバーに表示する文字列を制御する Hooks)
ドキュメントに載っている以下のコードを AutoLaunch/upper_case.py として保存しておく.
#!/usr/bin/env python3.7

import iterm2

async def main(connection):
    @iterm2.TitleProviderRPC
    async def upper_case_title(auto_name=iterm2.Reference("autoName?")):
        if not auto_name:
            return ""
        return auto_name.upper()

    await upper_case_title.async_register(
        connection,
        display_name="Upper-case Title",
        unique_identifier="com.iterm2.example.upper-case-title")

iterm2.run_forever(main)
そして「Preferences → Profiles → General → Basics → Title」に「Upper-case Title」を設定する
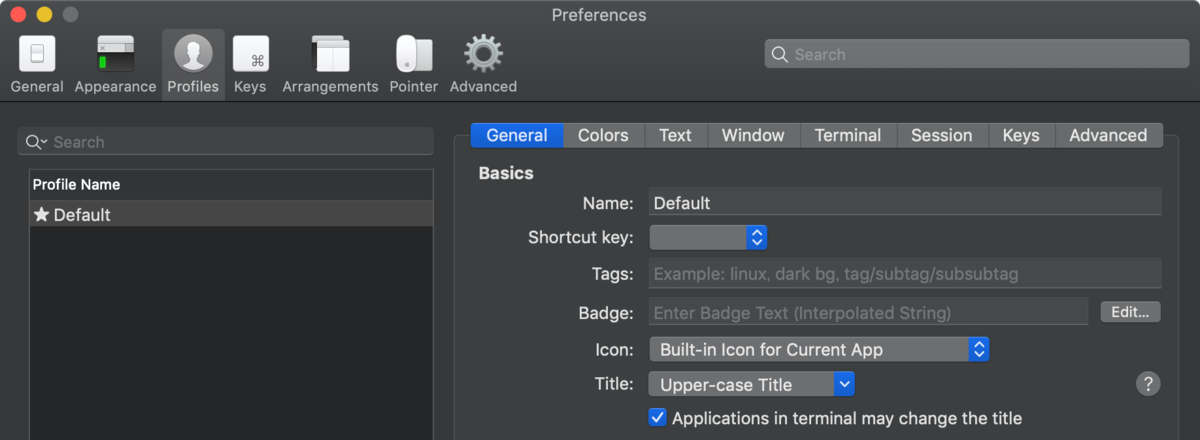
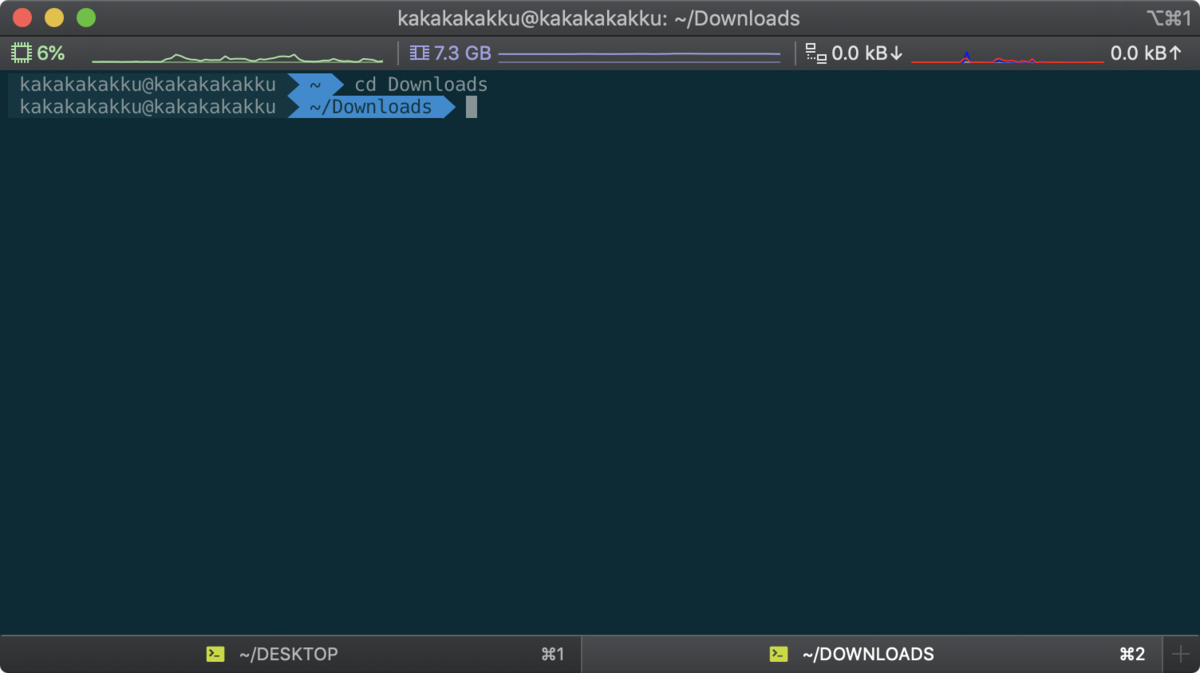
すると,iTerm2 のタブ文字列が大文字になっている.Hooks の Session title provider を使うと,こういう拡張ができる.なお,ターミナルの上部に載せている「CPU 使用率 / Memory 使用率 / Network 使用率」は「iTerm2 v3.3」のもう1個の新機能「Scriptable Status Bar」で,別の機会に紹介できればと思う.
7 : Troubleshooting
iTerm2 のメニューから「Scripts → Manage → Console」と選択し,Script Console を開くと,Python API のログを確認できる.さらに Scripting Inspector を使うと変数など詳細まで確認できる.今度スクリプトを自作するときに活用する.
まとめ
- 7月末にリリースされた「iTerm2 v3.3」に大きく2種類の新機能がある
- Python Scripting API
- Scriptable Status Bar
- 今回はドキュメントにある 「Python API Tutorial」を進めた
- Python API を使うと Python で iTerm2 を制御(ウィンドウ作成 / タブ作成など)できる