前回の記事では Airflow 検証環境を使って「Airflow Tutorial」を進めた.BashOperator を使った基本的な DAG を理解できるようになった!今回はプリセットされている他の DAG を使って BashOperator と PythonOperator と BranchPythonOperator を試す.
BashOperator : example_bash_operator DAG
最初は「Airflow Tutorial」の復習も兼ねて BashOperator を試す.プリセットされている example_bash_operator DAG を使う.コードは以下にも載っている.

DAG は Python で実装できるため,以下のように for 文と組み合わせて関連するタスクを複数作れるのは便利!命令的に記述できるメリットとも言える.以下の例は BashOperator を使って task_instance_key_str(タスクキー名 : {dag_id}__{task_id}__{ds_nodash}) を表示するタスクを3個 runme_0 / runme_1 / runme_2 作っている.
for i in range(3):
    task = BashOperator(
        task_id='runme_' + str(i),
        bash_command='echo "{{ task_instance_key_str }}" && sleep 1',
    )
    task >> run_this
以下に実行ログを残しておく.task_instance_key_str が表示されている.
[2022-03-01, 16:00:00 ] {subprocess.py:89} INFO - example_bash_operator__runme_0__20220301
[2022-03-01, 16:00:00 ] {subprocess.py:89} INFO - example_bash_operator__runme_1__20220301
[2022-03-01, 16:00:00 ] {subprocess.py:89} INFO - example_bash_operator__runme_2__20220301
コードを読むと DummyOperator というまた違うオペレーターも出てくる.名前の通り,特に処理はせず,関連するタスクを終端するときなどに使う.詳しくは以下のドキュメントに載っている.今回は依存関係として1番最後に設定されている.
run_this_last = DummyOperator(
    task_id='run_this_last',
)
実行して疑問に感じるのは this_will_skip で,Airflow は基本的に実行結果が 0 以外だと失敗するはずなのに,なぜ skip なのだろう?詳しくはドキュメントに載っていた.99 を返す(もしくは skip_exit_code と組み合わせて任意のコードを返す)と Airflow は失敗ではなく skip として判断する.調べながら仕様を理解できた!
this_will_skip = BashOperator(
    task_id='this_will_skip',
    bash_command='echo "hello world"; exit 99;',
    dag=dag,
)
PythonOperator : example_python_operator DAG
次に PythonOperator を試す.プリセットされている example_python_operator DAG を使う.コードは以下にも載っている.
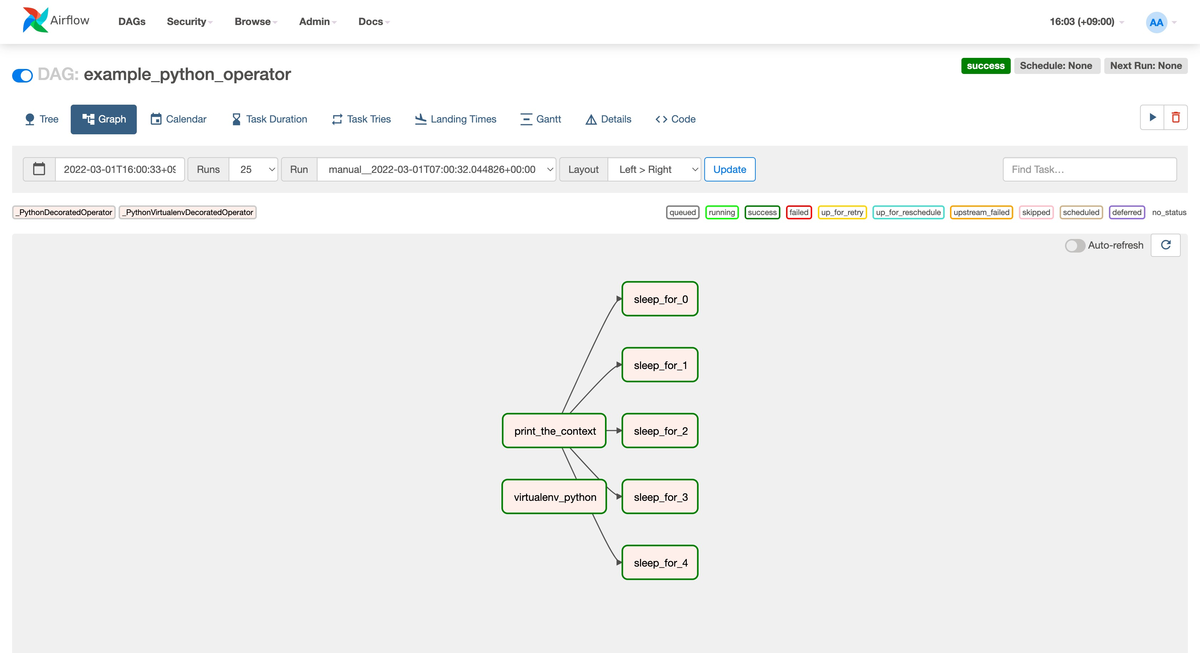
DAG は Python で実装するため,関数を実装したら直接タスクとして使える.最初は BashOperator のようにオブジェクトがなく戸惑った.task id はデコレータを使って指定する.以下の例は pprint や print を使って表示している.ds は前回の記事でも紹介した「実行する論理日付」で kwargs は DAG 情報(コンテキスト情報)となる.
@task(task_id="print_the_context")
def print_context(ds=None, **kwargs):
    """Print the Airflow context and ds variable from the context."""
    pprint(kwargs)
    print(ds)
    return 'Whatever you return gets printed in the logs'

run_this = print_context()
for 文と組み合わせるのは BashOperator と同じ.今回は Python の time モジュールを使って待機するタスクを5個 sleep_for_0 ~ sleep_for_4 作っている.待機時間 random_base は計算して引数に設定している.
for i in range(5):

    @task(task_id=f'sleep_for_{i}')
    def my_sleeping_function(random_base):
        """This is a function that will run within the DAG execution"""
        time.sleep(random_base)

    sleeping_task = my_sleeping_function(random_base=float(i) / 10)

    run_this >> sleeping_task
また Virtualenv を使って独立した Python 環境でタスクを実行することもできる.今回は shutil.which で Virtualenv の有無を確認している.他にも PythonVirtualenvOperator もある.Python に限定せずに環境を独立させるなら DockerOperator を使うのが良さそう.
if not shutil.which("virtualenv"):
    log.warning("The virtalenv_python example task requires virtualenv, please install it.")
else:
    # [START howto_operator_python_venv]
    @task.virtualenv(
        task_id="virtualenv_python", requirements=["colorama==0.4.0"], system_site_packages=False
    )
    def callable_virtualenv():
        """
        Example function that will be performed in a virtual environment.
        Importing at the module level ensures that it will not attempt to import the
        library before it is installed.
        """
        from time import sleep

        from colorama import Back, Fore, Style

        print(Fore.RED + 'some red text')
        print(Back.GREEN + 'and with a green background')
        print(Style.DIM + 'and in dim text')
        print(Style.RESET_ALL)
        for _ in range(10):
            print(Style.DIM + 'Please wait...', flush=True)
            sleep(10)
        print('Finished')

    virtualenv_task = callable_virtualenv()
PythonOperator のドキュメントは以下にある.
BranchPythonOperator : example_branch_operator DAG
最後は BranchPythonOperator を試す.Airflow の DAG でどうやって条件分岐を実装するのか気になっていた.今回はプリセットされている example_branch_operator DAG を使う.コードは以下にも載っている.


今回は BranchPythonOperator を使って python_callable に条件分岐を実装した関数を指定する.今回は branch_a から branch_d まででランダムに1個選ぶという条件分岐になっていてわかりにくさもあるけど,ここに if/else を実装すれば条件分岐を実現できる.実行結果として branch_a を通るパターンと branch_c を通るパターンを載せた.他にも Airflow の Edge Labels という機能を使って依存関係(矢印)にラベルを付ける機能も学べた.
run_this_first = DummyOperator(
    task_id='run_this_first',
)

options = ['branch_a', 'branch_b', 'branch_c', 'branch_d']

branching = BranchPythonOperator(
    task_id='branching',
    python_callable=lambda: random.choice(options),
)
run_this_first >> branching

join = DummyOperator(
    task_id='join',
    trigger_rule=TriggerRule.NONE_FAILED_MIN_ONE_SUCCESS,
)

for option in options:
    t = DummyOperator(
        task_id=option,
    )

    dummy_follow = DummyOperator(
        task_id='follow_' + option,
    )

    # Label is optional here, but it can help identify more complex branches
    branching >> Label(option) >> t >> dummy_follow >> join
BranchPythonOperator を使った条件分岐の仕組みは以下のドキュメントにも載っている.
まとめ
今回は Airflow にプリセットされている DAG を使って BashOperator と PythonOperator と BranchPythonOperator を試した.特に PythonOperator を使うことで BashOperator よりも自由度が高く多くの処理を実装できるようになった.次回もまた別のオペレーターを試していくぞー!

